
Experimenting, pouring and mixing one’s hands into a sticky, foamy or exploding mess is most kids’ idea of a good time.
I recently created a Pinterest board for the OFJCC entitled “Summer Science Projects for Kids” and it inspired me to try some with my five-year old daughter Anna. When presented with the idea, she eagerly dropped the iPad (on a soft surface) and volunteered.
Our first project was the Ice Cube Experiment from Mess for Less. I remembered this experiment from my own childhood and thought it would be an easy project to kick off our summer science fun.
The experiment involves putting an ice cube in water and picking it up with a piece of string. Sounds impossible, right? The trick is to lay the string flat across the ice cube and sprinkle salt on top. The salt melts a small layer of ice, causing the string to sink into it. The cube re-freezes, securing the string within the ice. Now pick up the cube with the string: Voila, magic!
This experiment should work even for the scientifically-impaired. However, Anna and I went through several trials before successfully picking up an ice cube.
On our first attempt we used a coarse sea salt, all I had on hand. It melted the cube too quickly and prevented the ice from refreezing over the string. The next day I bought fine-grained table salt. Pouring too much salt on the cube again caused it to melt too fast and not refreeze. After several tries, we learned that only a small amount of salt was required to successfully melt and refreeze the ice, securing the string. Experiment number one was a success; Anna’s shouts of joy were deafening!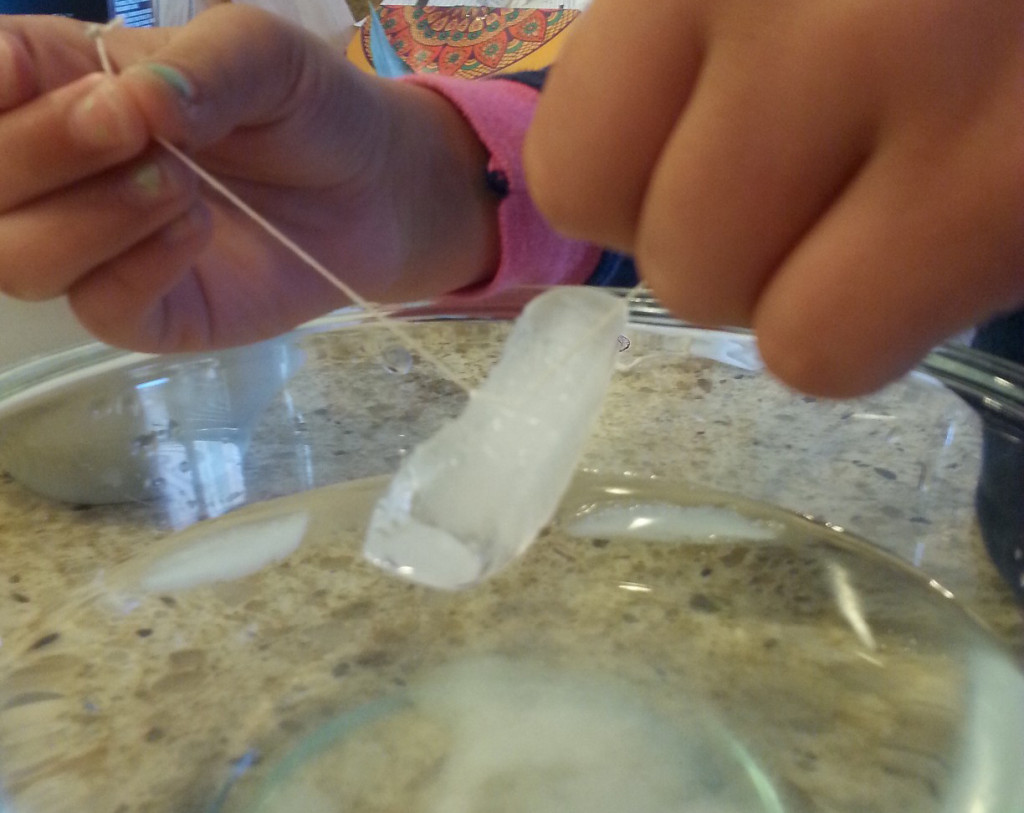
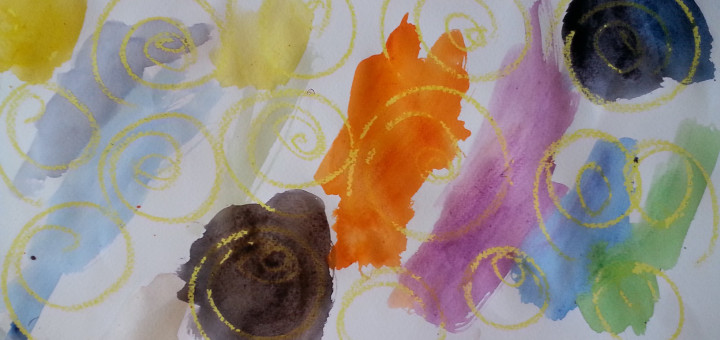
Our next experiment was Crayon Resist Spiral Art from Powerful Mothering. This experiment involves drawing swirls with a white crayon on a white piece of paper. As your child paints over them with water colors, the wax from the crayon resists the water-based paint, revealing the hidden designs.
I told Anna that oil and water don’t mix, then prepared a bowl of water and handed her a bottle of green olive oil. When asked what she thought would happen when we combined them, she predicted “the water will turn green.” The oil surprised her by forming beautiful droplets on the surface of the water. I explained that the oil is lighter than water and won’t sink or mix in no matter how hard she stirs. (Older kids might like to know that water molecules have a positive charge while oil molecules no charge, causing the oil to want to stick to itself rather than the water.)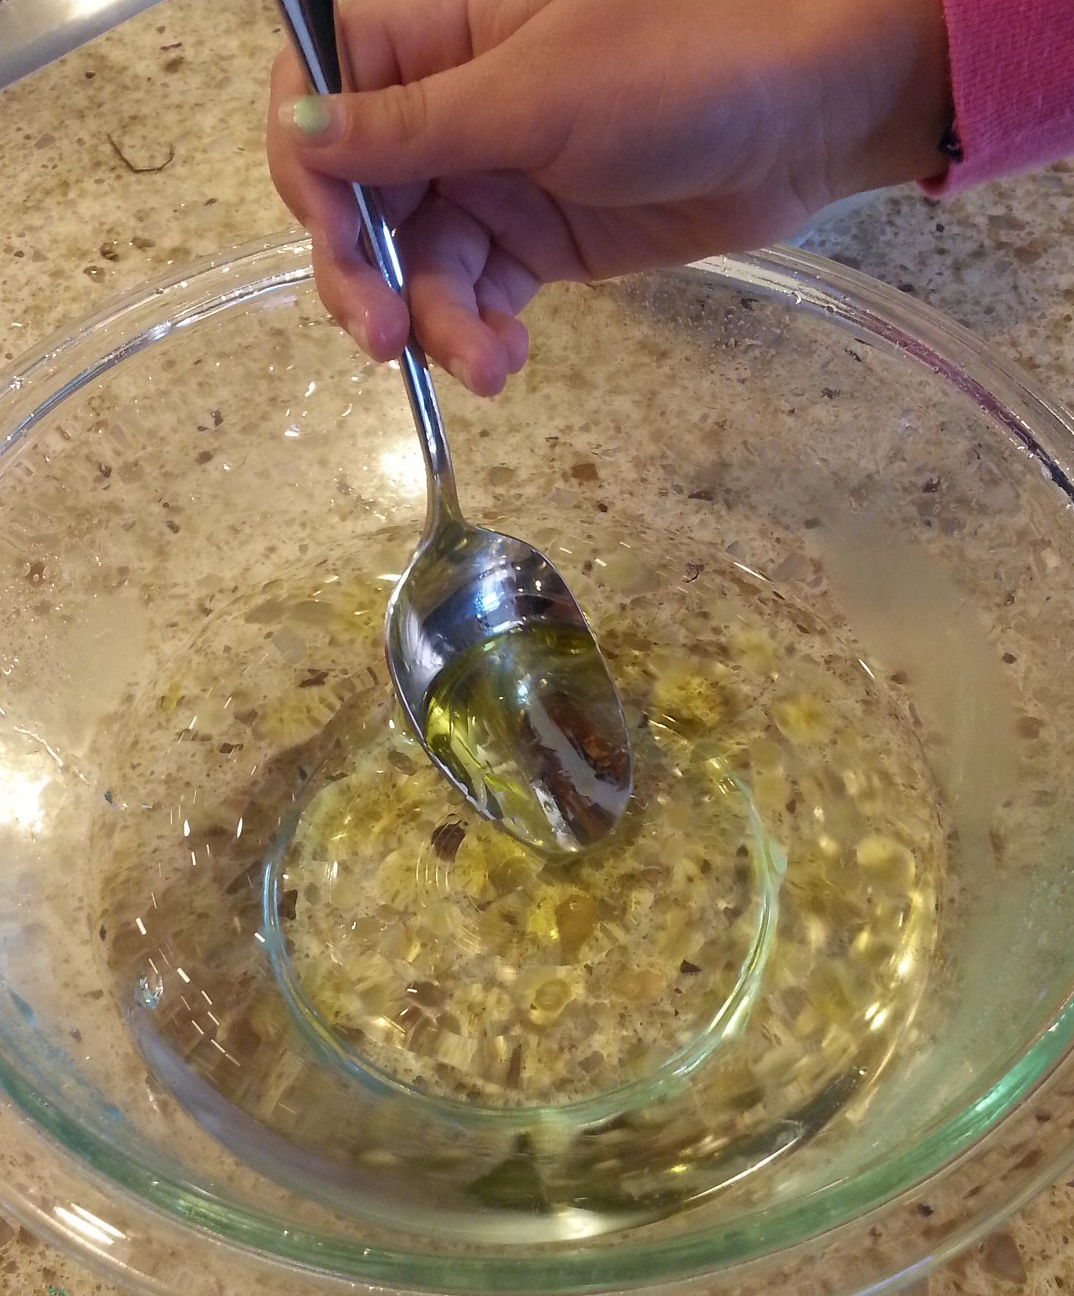
Then we applied what we had learned about oil and water to the art project. I drew with a yellow crayon since we had no white, and set Anna loose with her water colors. At first she painted gently, marveling at how the paint wouldn’t stick to the wax. She then tried to heap globs of paint on the spirals to prevent the paint from gliding off. She had lots of fun and the finished picture is beautiful, deserving a very special place on the refrigerator door.

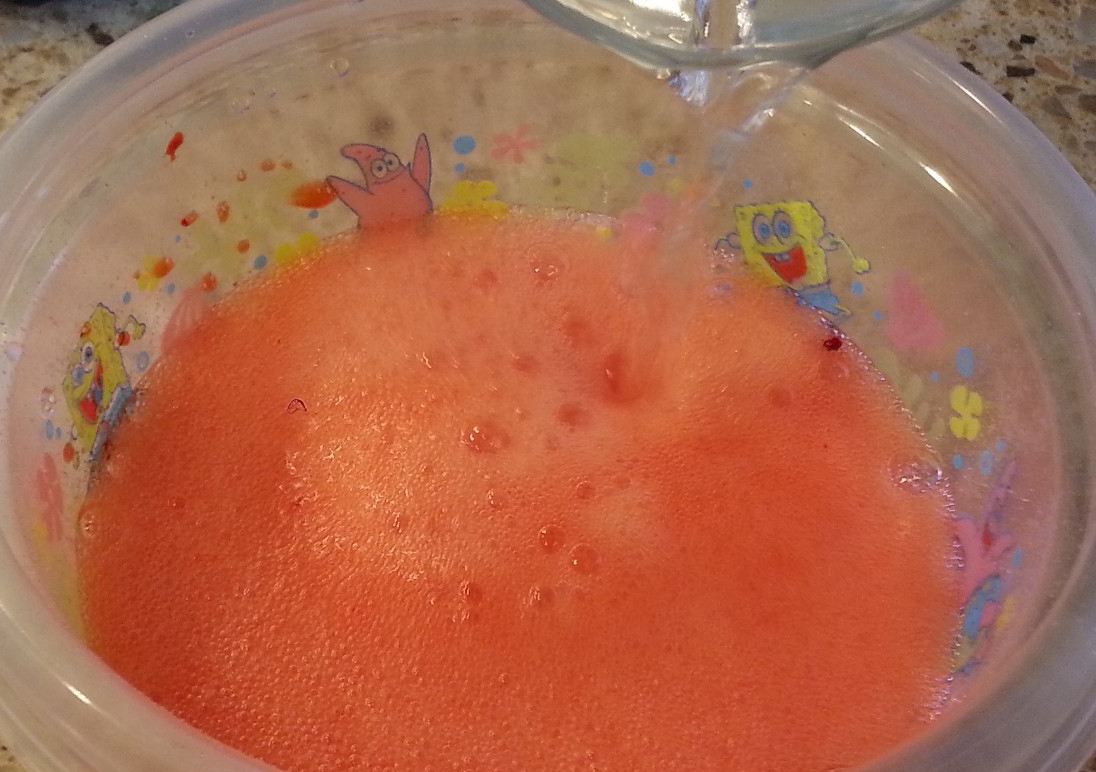
Our pièce de resistance was the Rainbow Eruptions experiment by Learn Play Imagine. What could be more fun than causing rainbows of color to explode and spill over? If you have ever built an erupting volcano for a science fair then you already understand the science behind this experiment.
Learn Play Imagine recommends filling small plastic ramekins with different flavors of Kool Aid (instead of vinegar) and baking soda. Fill a squeeze bottle with water and let your child go crazy squirting! A chemical reaction occurs when the baking soda, a bicarbonate, and the Kool Aid, an acid, combine, creating carbon dioxide that bubbles up and escapes generating a colorful erupting foam.
As an alternative route to this gurgling goodness, we filled the ramekins with baking soda and food coloring and put vinegar in a separate cup. At the start of the experiment Anna was both excited and terrified–she imagined huge eruptions that would cover the house from floor to ceiling with fizzing foam. “But what about the couch?” she asked. “Won’t you be upset if it gets dirty?”
I handed Anna the glass of vinegar. She hid behind me, afraid of being exposed to the exploding foam. I poured it into the container of green and the first eruption began. Anna quickly shed her fear, eagerly taking over the experiment, fascinated by the reaction. For the next hour she created eruptions and mixed colored foam with a spoon, repeating the process again and again.
She’s now officially hooked on science experiments–this morning in the car she asked me what experiment we will conduct tonight!
For more ideas on fun science experiments to do with your kids this summer, please visit the OFJCC Summer Science Experiments for Kids Pinterest board.


Those came out lovely!!!
Pleasant piece of writing.